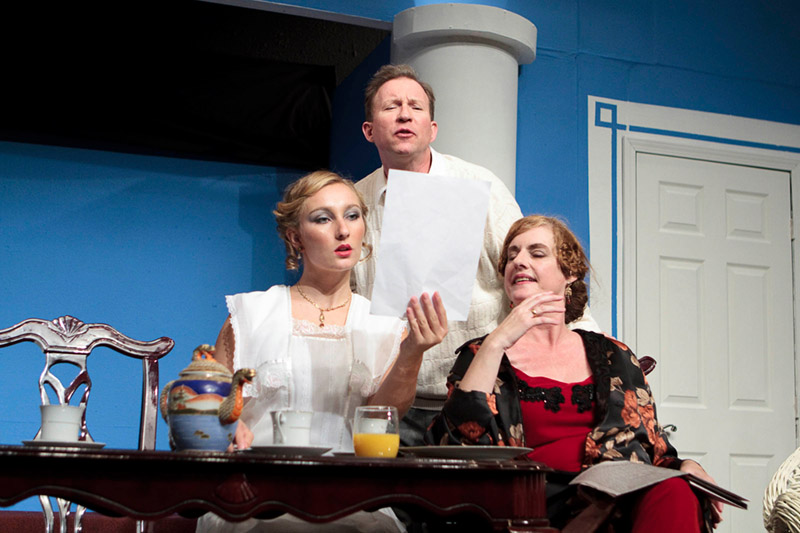
More from The Importance of Being Earnest
For Bay Area Stage. See the whole gallery here.
Posted in Cameras, Digital, Photography, Production, Promotion, Theater, Theatre No Comments »


For Bay Area Stage. See the whole gallery here.
Posted in Cameras, Digital, Photography, Production, Promotion, Theater, Theatre No Comments »
After owning the original Fujifilm X100 in 2012 for about 4 months, I decided that its “quirks” (read: the things that sucked about it–that’s right, I said it) were things that I decided I couldn’t live with. We took it on a family trip to Oregon, and the resulting photos from that trip are spectacular and live in a printed and bound book. But for me, the resulting images are only half of the equation. The experience of shooting, and how a camera makes me feel–the way it performs, the way it feels in hand, and the way it becomes an extension of my hand and eye is a huge part of what draws me to photography. I found that with the X100, not always, but often enough, I noticed the camera–the same way you notice something on the ground and step over or around it so you don’t trip. Then, 8 feet later, there’s another thing on the ground you have to step over so you don’t trip. Then, 6 feet later…you get the picture. It was getting in my way.
My main issues with it were these:
I wanted to love the X100, but I didn’t. I liked it very much, but I didn’t love it. With a now-2-year-old child, speed is very much a concern when it comes to cameras, so i decided to move back to the Micro Four Thirds system with an Olympus PEN E-P3…until I saw the X100S
So let’s move on . The Fujifilm X100S. I bought one. I love it, and there’s nothing (as of this writing) I would change about it. Here’s why:
Virtually every issue I had with the X100 was addressed and fixed or improved. Autofocus is faster. Not as fast as advertised with the .000004 nanosecond autofocus that is claimed (yes, I’m exaggerating), but it is faster. Fast enough, and I’m willing to bet that it will get even faster with future firmware updates. Manual focus? Not only is it usable–it kicks ass. Focus peaking allows me to manually focus faster than any film rangefinder I’ve ever owned. The laggy-EVF-when-half-pressing-the-shutter issue is still present–but much better, and it isn’t bad enough to bother me. In respect to speed, everything about the camera is faster, and I feel that the X100s is the camera that the X100 should have been.
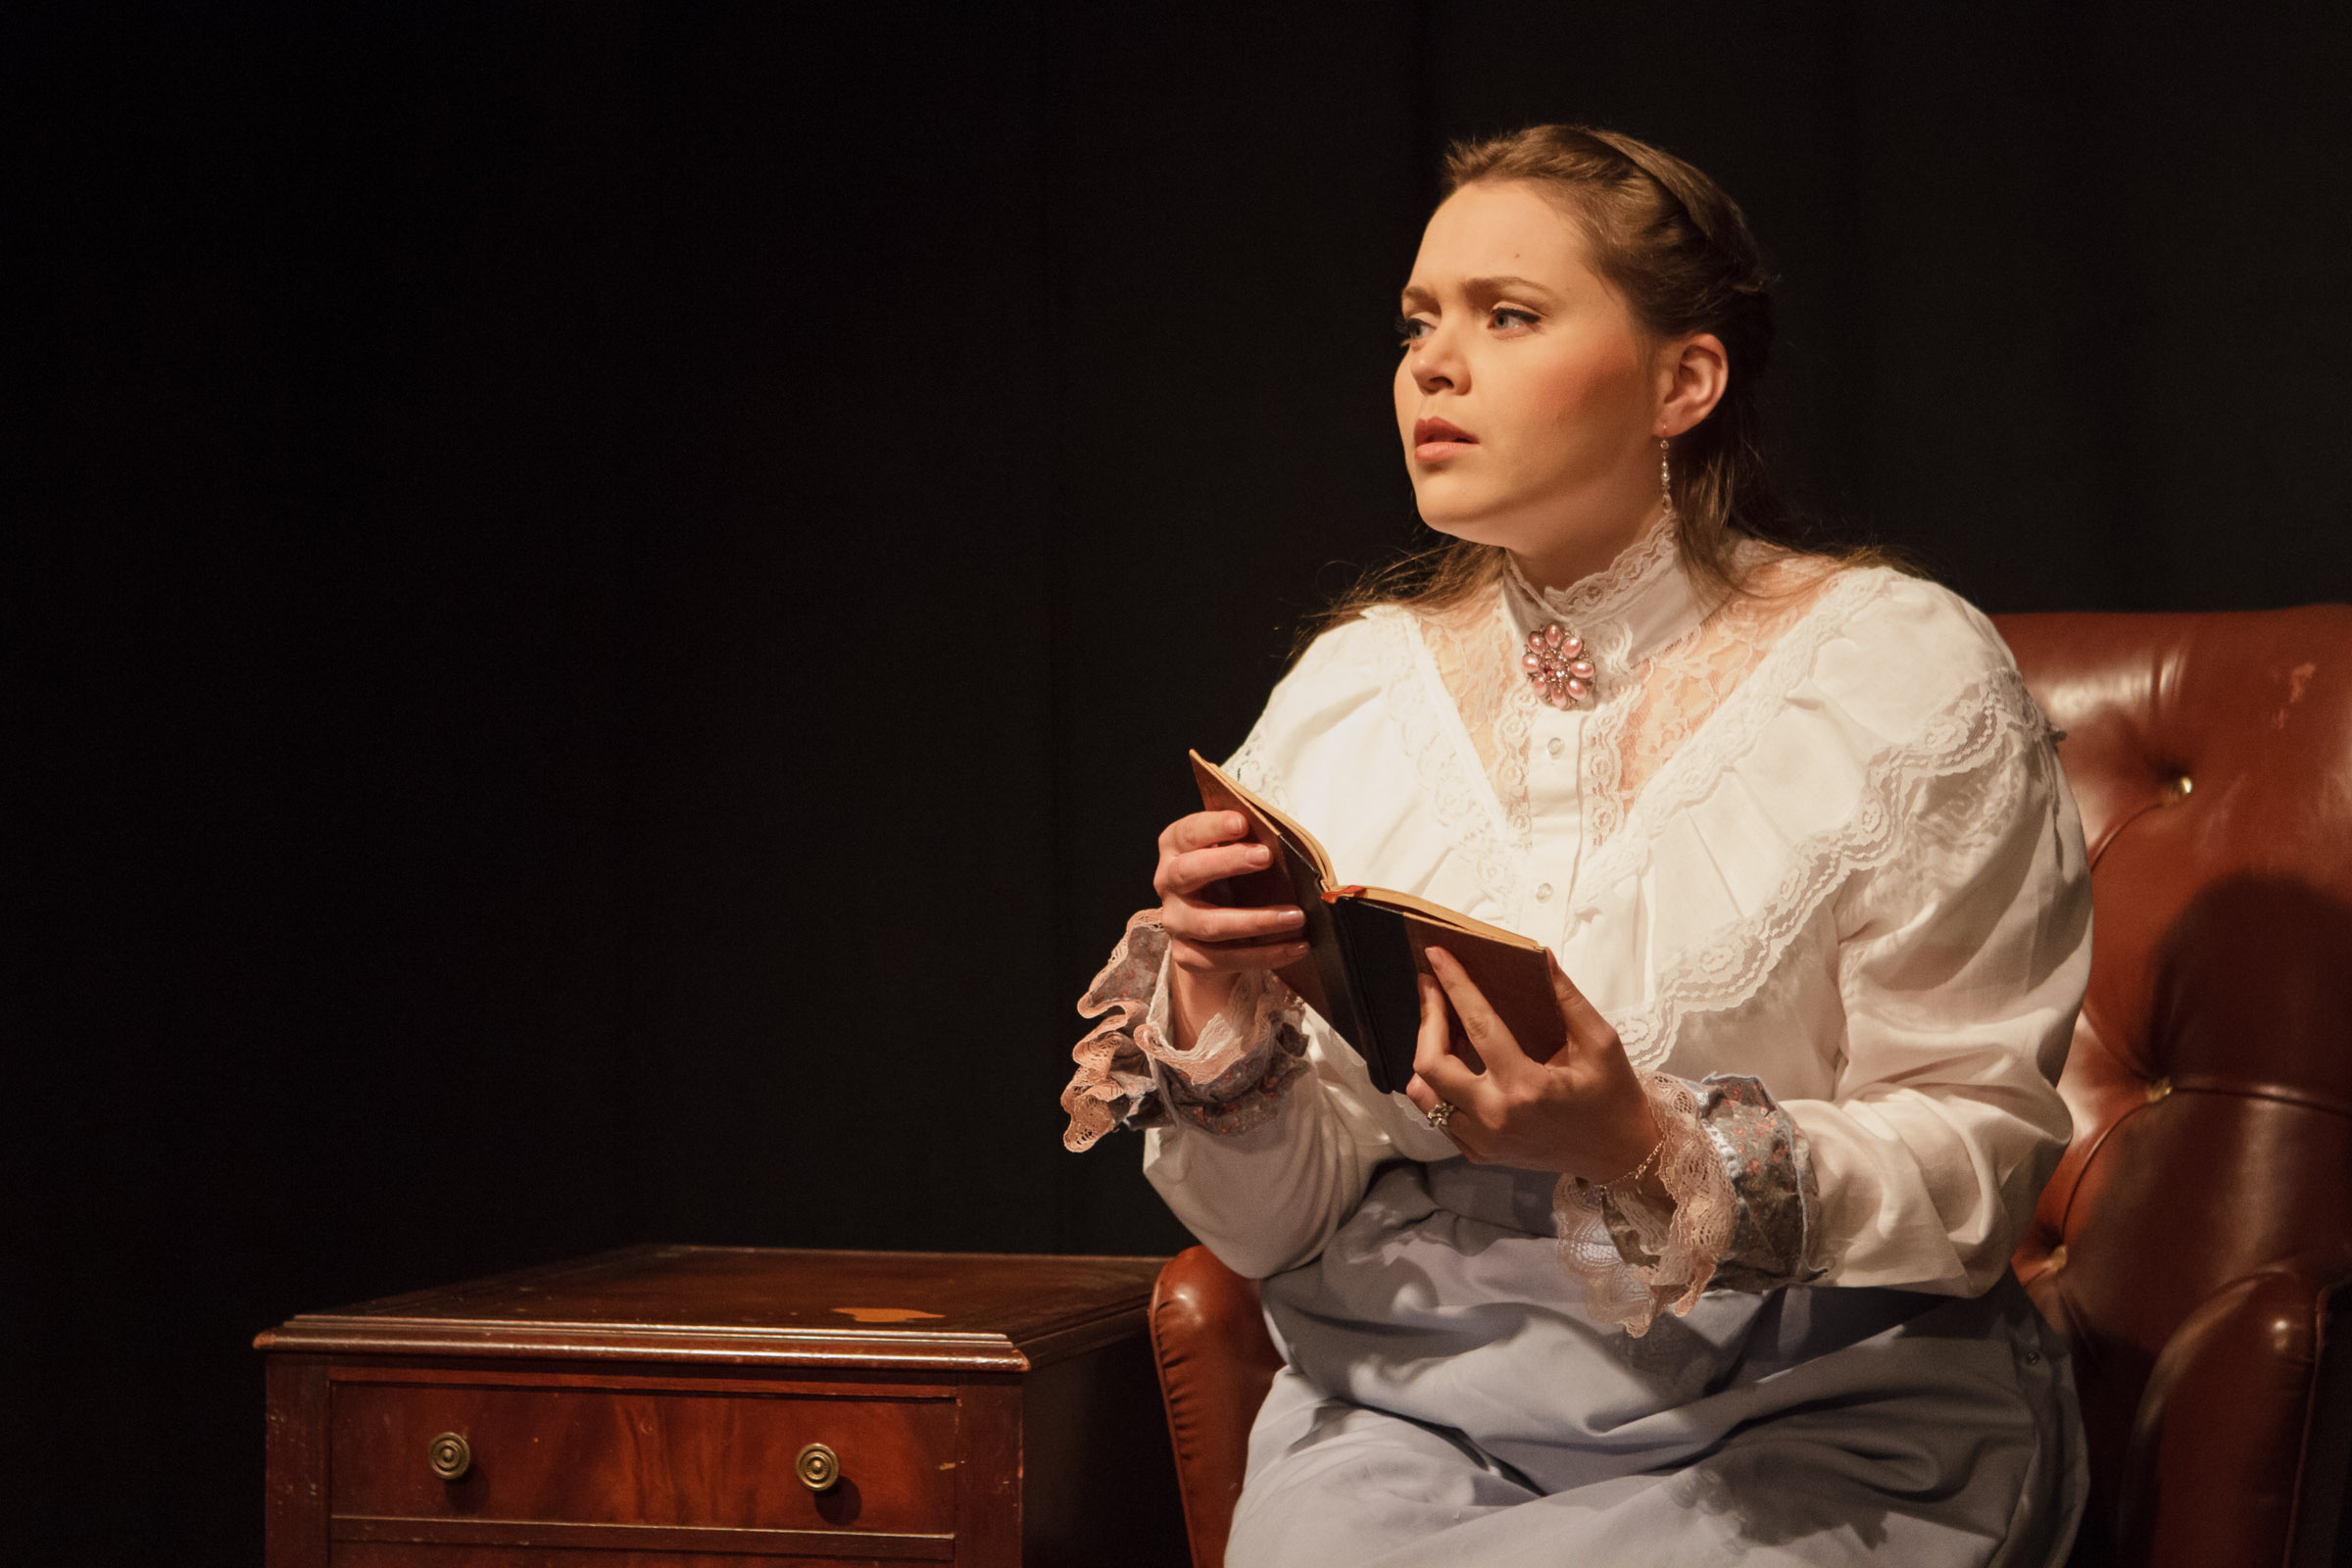
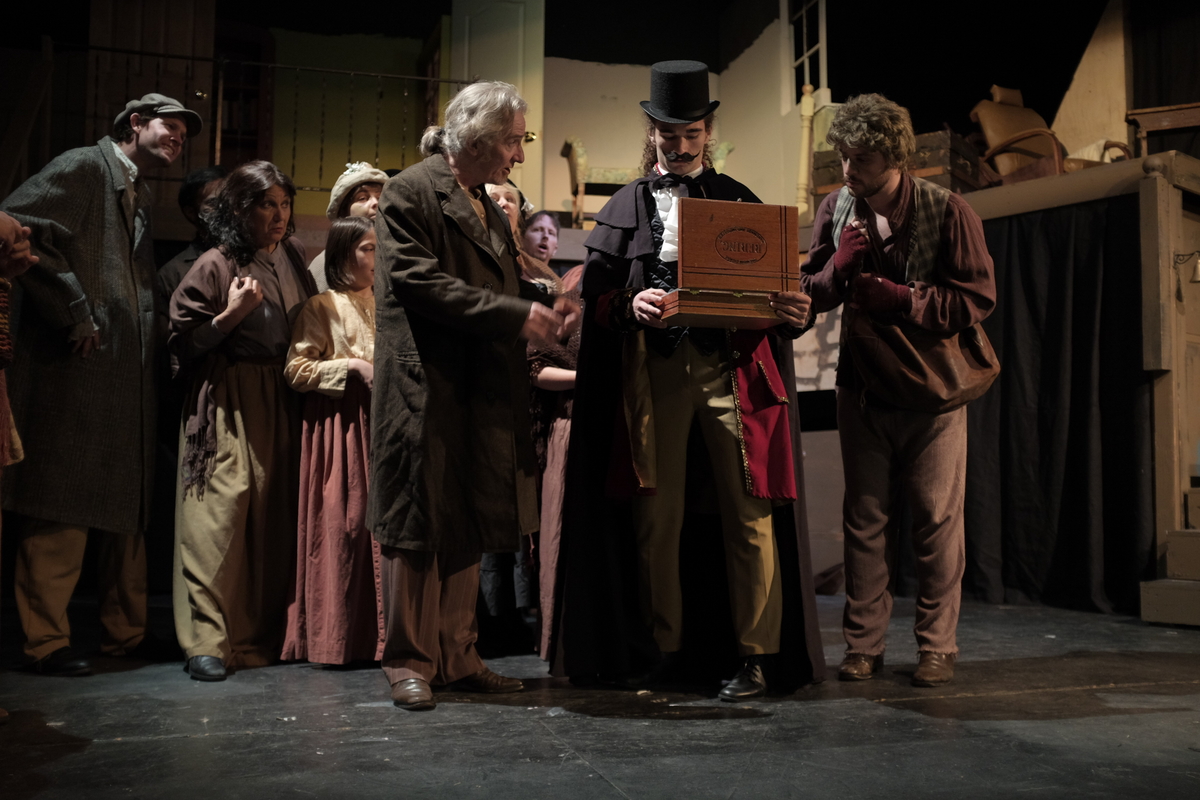
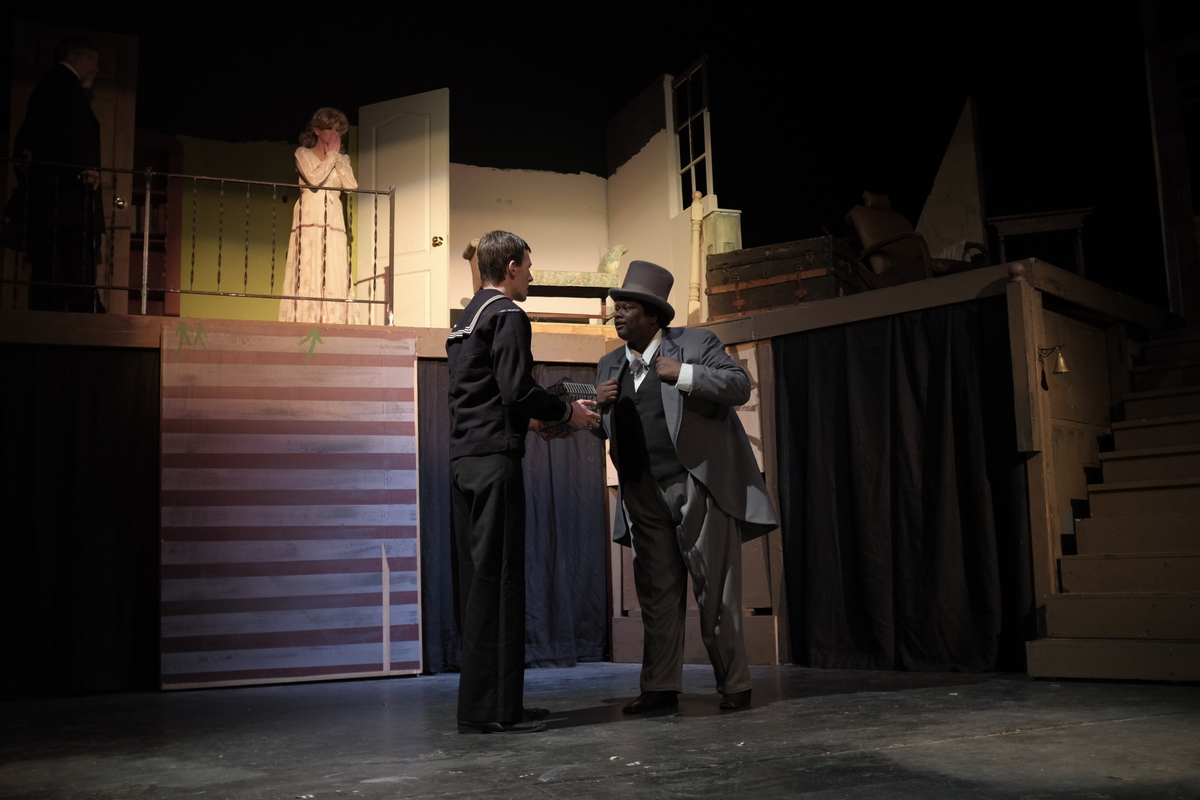
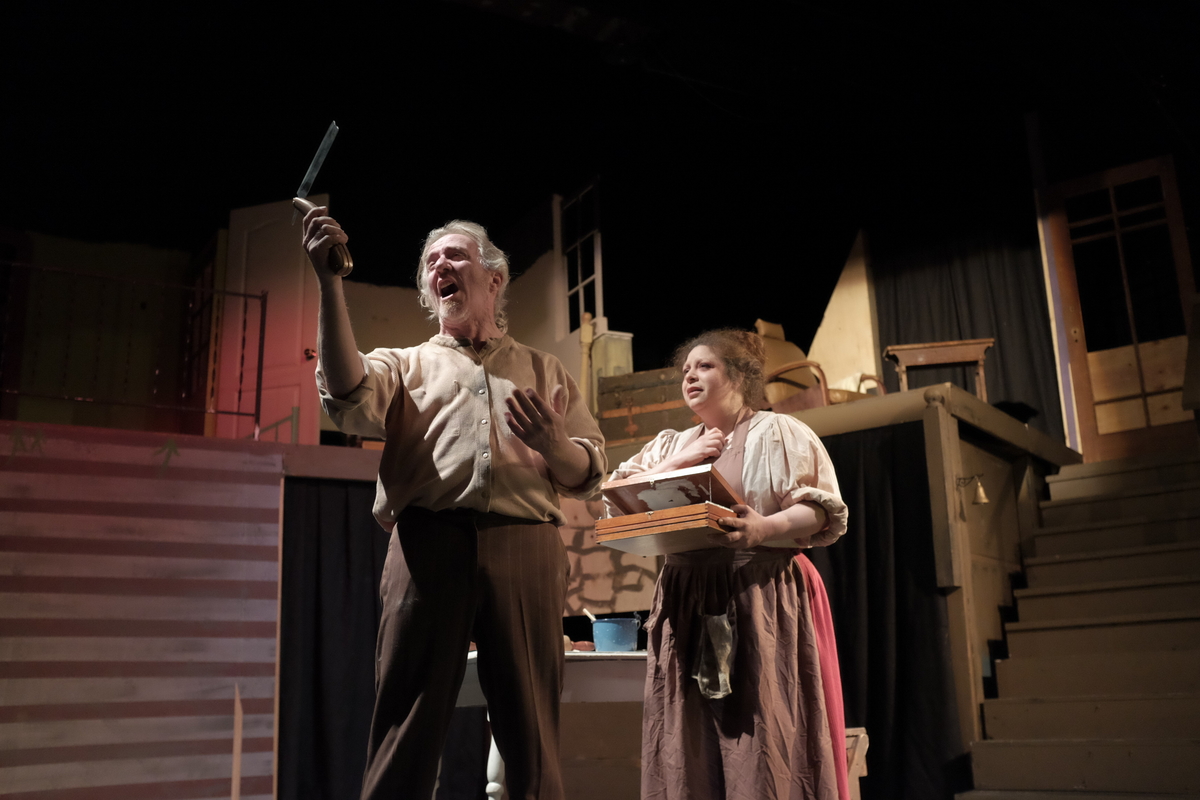
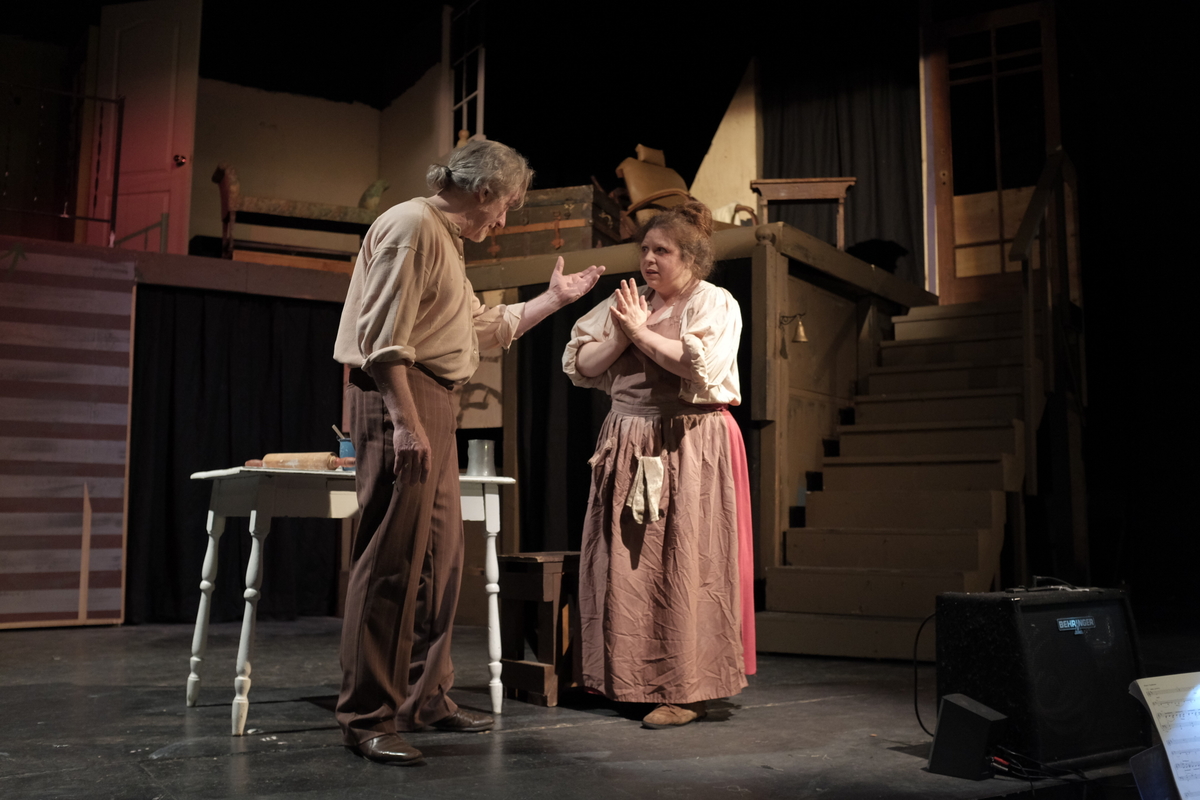
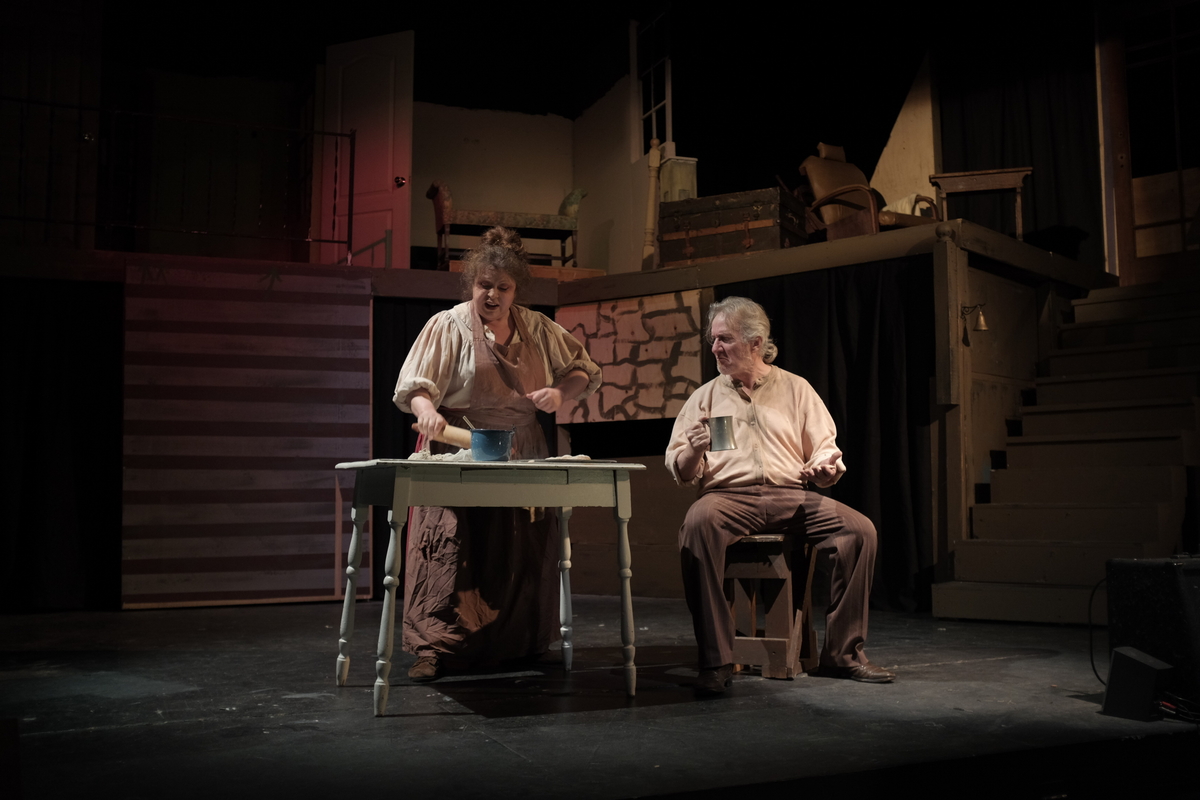
There is one feature, though, that is above and beyond the “should-have-been-on-the-X100” category: The sensor. The sensor makes beautiful pictures. Not since I bought my very first DSLR in 2004 did I pixel peep a file and say “wow, that is beautiful.” Great highlight retention, excellent shadow detail, and razor sharp. It is worth mentioning that I’ve only owned the X100S for four days, but I did have a chance to put it through the most demanding and difficult of situations that I personally shoot in: a live theatrical production dress rehearsal. Fast shoot, lots of movement, and fast turnaround. Normally I would shoot RAW and do a 24-hour (or less) turnaround of the selects to deliver to a theater company, but in this case, I decided to break one of my longstanding rules with my theatrical photography: Shooting in JPG…with no post production. Just an edit of the selects in Photo Mechanic and up they went on my website. Normally I would shoot in RAW only, and adjust the files to my liking in Lightroom. I felt like I was taking a huge risk, so naturally I shot in RAW + JPG so I could have the RAW file for later use and for archival purposes. But what I delivered to the client were JPGs, right out of camera. I couldn’t be happier, and in one night, I have changed the way I look at my shoot/post workflow for theatrical shoots.
Another spot where the X100S shined is in its consistent and reliable metering–even in a situation that wreaks havoc on a camera’s meter: a stage with brightly spot-lit subjects and backgrounds that often fall to black. With DSLRs, I shoot manual, and spot meter to nail exposure. With the X100S, I shot in aperture priority using Matrix metering (I think Fuji actually calls it “Multi”) and I found myself dailing all the way down to -2 stops to hold highlights, keep shadow detail, and keep the midtones on the actors right where they needed to be. The Fuji nailed it every time.
I did make some adjustments to how the camera handled the JPGs:
This resulted in the camera getting really close to how I would process a RAW file in Lightroom. Default JPGs in most digital cameras are always too saturated, contrasty, and over-sharpened to my eyes, and I find that noise reduction just sacrifices details to produce a less-noisy file. I really don’t care about noise. Remember the grain in that stuff we used to shoot with? What was it called? Oh yeah, film. OMG, this grain is ruining my pictures! Not once have I had a client complain about a picture having too much chroma noise. Not that it mattered for this last production–the files were clean as a whistle.
Speaking of Lightroom, I haven’t had time to play with RAW files with the 4.4 update, but I’m so much less concerned about it now after seeing the JPG output from the X100S.
Yet another big plus: The X100S is unbelievably silent. I don’t have a scientific comparison but I do believe its even quieter than the X100. I have all the sounds, beeps, and fake shutter clicks turned off. A huge plus when you want to avoid distracting actors.
In all, the camera is everything I want. It’s fast, small, light, and I wouldn’t mind carrying it around all day. The pictures are great, low light performance is the best from any camera I’ve ever owned, and just as importantly, the shooting experience itself is one where the camera absolutely just becomes part of you.
Notes on the theatrical shoot: Sweeney Todd, presented by Bay Area Stage. I shot with both a 7D + 24-70mm f2.8, and the X100S. The whole gallery featuring pictures from both cameras (and a few from my super-compact Canon S110) can be seen here.
Posted in Cameras, Digital, Hardware, Personal, Photography, Portraits, Production, Promotion, Technique, Theater, Theatre, Travel 2 Comments »
Early on in every photographer’s career, one of the biggest issues is that you lack material for your portfolio. Had you told me three years ago that I would spend hundreds of hours over the course of months reviewing, sorting, and editing through thousands of pictures spanning dozens of productions to create the strongest possible portfolio consisting of merely a couple dozen pictures, I would have asked you for a time machine.
But now, I’ve done just that: edited a portfolio (a few of them, actually) and built a completely new website around it. My hope was to showcase my best work, adjusting tones and colors to my ever evolving taste from scratch, and to present it in a clean environment that doesn’t distract from the pictures. Thus, I introduce to you my new website, a few months in the making:
I’ve gone with a new website provider, PhotoShelter. In terms of pure value, they’re the ones to beat if you’re looking for a provider that will showcase your photography. Customization options abound, and their themes are very crisp and clean (coincidentally, the theme I chose for my website happened to be called “Crisp”).
Posted in Photography, Portfolio, Production, Promotion, Theater, Theatre No Comments »
More and more people are asking about the right lenses for photographing theatre, so here are my 2 cents. There are so many choices but my general advice is this: Get the fastest glass you can afford–if you do this kind of photography a lot, it’s worth it. By “fastest,” I mean the largest possible maximum aperture. In terms of flexibility, something like a 24-70mm with a constant f2.8 is great, but you’ll find with some theatre productions, you will still have to bump your ISO very high, because they can be dark. Very dark. Here is an example of something I shot at ISO 3200, f2.8 at 1/30th . A very challenging production because scenes like this one were so dark and obscured with fog.

Had I shot the above picture with a lens that had an aperture range of something like f3.5-5.6, I would have to bring my shutter speed down to something unacceptably low; with all actors’ movement, a blurry picture is all but guaranteed.
Another thing to think about is your focal length coverage. If the theater is big with a high stage, you may find yourself backing up 5-10 rows and shooting with long glass. If it’s small and intimate, you might find yourself right up against the stage and shooting wide to medium. For the most flexibility, a 24-70mm f2.8 will give you great coverage, but if you have the means, I would suggest adding something like a 70-200mm f2.8 so you can get close-ups of actors and their expressions. You really have to think about covering a show with everything from wide shots that showcase the scope of the set, all the way to tight, emotionally evocative expressions on actors’ faces.
Then, there’s the prime lens school of thought. I personally love using primes. I shot this entire production with a 50mm f1.4: http://www.mikepadua.com/Theater/ihatehamlet/12858869_8FhdcP#928216556_YqvWr. However, I had a large area to move about in front of the stage, which allowed me to “zoom” in and out (with my legs!) as I needed. You won’t always have this luxury. While I enjoy shooting like this, I prefer zooms for speed and flexibility and didn’t feel a need to keep the primes in my bag.
From a budget standpoint, if you are shooting with crop-sensor body like a the Canon 7D or Nikon D7000, this type of lens is a great place to start:
Very economical, with a zoom range of 17-50mm (equivalent to 27-80mm in 35mm terms) and most importantly, a constant aperture of f2.8 throughout the zoom range. I shot many of my first shows with this lens. It’s got shortcomings like you’d expect from any budget glass but nothing fatal.
I had to buy and sell a few lenses before I settled on my trusted combo (and many will tell you the obvious choices) of a 24-70mm f2.8 and a 70-200mm f2.8. There are lots of reviews and opinions floating around on the internet, but in the end it comes down to your preferences and what works for you. If you’re not ready to make a big investment in a new lens yet, there’s always rental houses like BorrowLenses.com which I’ve had great luck with. And before you put down money on a new lens, try shooting with what you already have. You may find it does the job just fine. If it doesn’t, you’ll discover its shortcomings and your needs will point you in the right direction.
Kudos to http://markhemmings.com for getting the conversation started!
Posted in Hardware, Photography, Production, Promotion, Technical, Technique, Technology, Theater, Theatre No Comments »

Vallejo Shakespeare in the Park presents "Othello"
Vallejo Shakespeare in the Park will be presenting “Othello” this summer and I had the opportunity to create some promo photographs for their show. The main differences with the promotional photography and production photography is that with the promo stuff, I light and pose the actors. With production photos, I’m basically a fly on the wall during a dress rehearsal–commonly during tech week, and more commonly during the very last dress rehearsal before a show opens–when the show is picture ready.
Theatre companies need the promo pictures well before a show opens so they can (you guessed it) promote the show with plenty of time before it opens. This is especially important because prospective audience members are more likely to go see a show if they have a way connect with the characters beforehand.
For the shot(s) above, I shot the actors separately against a green screen, lit them with small flashes with shoot-through umbrella attachments, and created a composite in Photoshop. I went into the shoot with a firm concept of what the final product was going to be, so I lit and posed each actor accordingly.

For Othello, I knew I wanted to bring out the contours of his face and create depth with strong shadows, so I placed my main light camera left at a hard 90 degree angle towards the subject, which fills in his face but also casts a distinct shadow to the right of the camera. I then placed a fill light at a 45 degree angle camera right. This gave me a face that was well lit, and shows us exactly what Othello looks like, but it’s not flat and evenly lit.

For Iago, I wanted his face more filled in, but with one side more “lost” in shadow–almost as if he was being obscured by Othello’s shadow. I placed the key light 45 degrees camera right and angled his face just so that one side was almost completely obscured except for his eye–people always focus on the eyes, so I didn’t want to lose it. I had one more light behind and above him to give his hair a little depth, but I didn’t want a classic back/rim light scenario–just a tiny splash of light on his hair.

Finally, I wanted to give Desdemona the same light/shadow depth that I gave Othello. I had to walk the lights back a couple of feet since I shot a bit wider to get more body length. Due to the way she was posed, I noticed that the fill light being at 45 degrees was hitting her flat against her back, and the contours of her arm seemed to get lost, so both the main and fill light were placed 90 degrees on either side of the frame.
I took these shots using the Canon EOS 7D with the ST-E2 Speedlite Transmitter
attachment. Even though the 7D features wireless flash control built in, there’s less digging into menus when I use the ST-E2. I used three 430EX II flashes on light stands, two of them with umbrellas.
After the shoot, I went through the usual workflow of Photo Mechanic > Lightroom > Photoshop to create the final composite image you see at the beginning of the post. Lots of fun, and more planning and post-production involved than a dress rehearsal shoot, but the end result was really worth it. One thing I regret is not capturing behind the scenes photos of the lighting setups themselves. Because of limited budgets, I didn’t have an assistant on this shoot so all the lightstand moving was done by yours truly. Hopefully next time I’ll have a bit more time to do so.
Make sure to check out the event here: http://www.facebook.com/event.php?eid=123487851078062
Posted in Hardware, Lighting, Photography, Portfolio, Portraits, Promotion, Technical, Technique, Technology, Theater, Workflow No Comments »
This was from a while ago, but I hold a special place in my heart for my hometown paper. They reviewed a show at Dreamweavers and used my production stills from the show.
As always, Dreamweavers provided a great show with a lot of beautiful lighting for me to shoot. I never find myself going over ISO 1600 there.
Shot with a Canon EOS 7D, Canon EF 24-70mm f/2.8L
, and I set a custom white balance to the key lights to nail accurate colors. I always shoot RAW when shooting theatre (or pretty much anything, for that matter).
I shoot in RAW for a couple of reasons: It lets me fine-tune white balance, even though I set a custom WB at the beginning of the shoot. It also gives me latitude to bump up shadows and tame highlights where necessary. Theatrical lighting, by it’s nature, is quite hard and directional. Where one portion of the scene can be perfectly exposed, another portion can be either lost in total darkness or overexposed and too bright.
To set a custom white balance, I use a standard Kodak 18% Grey Card. There are much fancier white balance systems out there, but this one is simple and accurate. These cards were originally meant for determining exposure, and they work great for that, but the grey is perfectly neutral in color and works beautifully to set white balance for digital cameras.
Here’s the link to the whole gallery.
Posted in Hardware, Lighting, Photography, Production, Promotion, Technical, Technique, Theater, Theatre, Workflow No Comments »
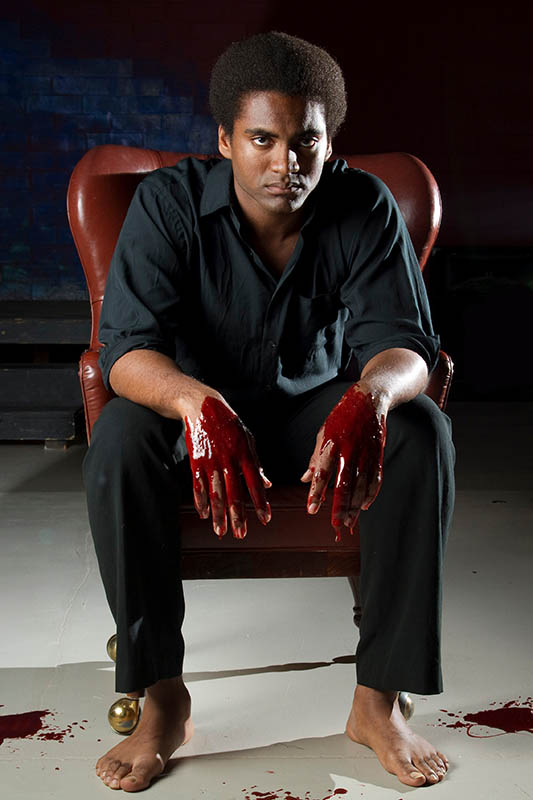
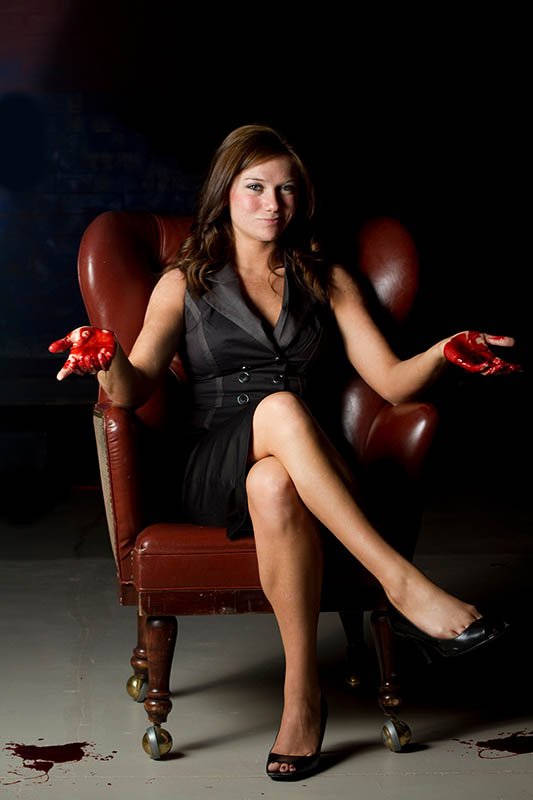
“Firstborn” was originally a concept for a feature film that was adapted into a play, which premiered at the Black Repertory Group in Berkeley. It’s also where I discovered that focal lengths made for crop sensor cameras such as 17-50mm don’t work quote well for my style, even though I am shooting on a crop sensor camera – a Canon EOS 7D . I’m almost never at the wide end , and sometimes I found myself wanting to be able to zoom in a little more for some tighter crops, even after using my legs to bring me as close as possible to the action.
Speaking of moving around, I always, always, shoot these productions during a dress rehearsal. I never shoot while a crowd is present. I believe that a theatre-goer’s experience is one that shouldn’t be marred by the clicking of a shutter, or a figure running around in the dark and jumping over seats. Usually, it’s the final dress rehearsal before the show opens or previews, because that’s when the set, wardrobe, and makeup is in place, and this naturally makes for the best photographs.
Notably, this play had some stage combat that I was somewhat prepared for; even though I had never seen a run-through, I did read the script, so I knew when an important bit of action was coming up. I always prefer to see a run through, but that’s actually a rare privilege, so in this case I just had to make sure to be a the ready.
Posted in Hardware, Photography, Production, Promotion, Technique, Theater, Theatre No Comments »
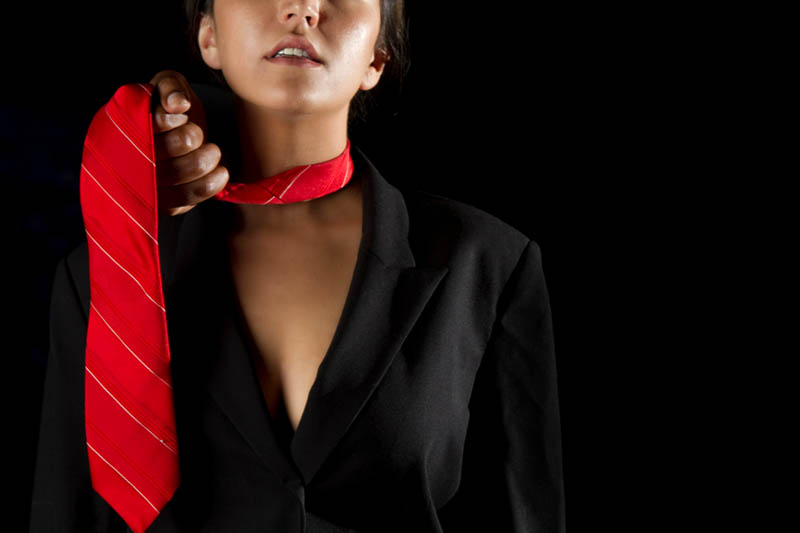
I was asked to shoot “specials” for a modern-styled rendition of Julius Caesar. Specials are promotional photographs to be used in marketing materials before the production starts. The big difference with the specials is that usually, I will do the lighting in a studio space instead of using the stage lights. I’ve always been a big fan of of promo photographs because I feel that a prospective audience member is more likely to want to see a play when they can see, and connect with, actors in the production.
Take a look Broadway.com and you’ll see that the website is filled with photos that entice someone to buy a ticket to see a show. Another great example are movie posters–they almost always feature a photograph of the lead players to establish a connection for someone who is trying to decide which play or movie to see.
A special thanks to the director, cast, and crew of this show–this shoot was a lot of fun.
On a technical note, the battery in my ST-E2 wireless flash trigger went dead, and I didn’t have a spare. Luckily, we were in a small space and I just used the 7D’s built-in wireless flash control. Whew. I promptly bought spare batteries for the ST-E2.
I used some pretty simple tools to light these: One 430EX Speedlite on a light stand as a main light, One 420EX Speedlite as a backlight. I did not have umbrellas for this shoot–not because I forgot them, but because I didn’t own any. To diffuse and soften the main light, I used a fold-out reflector that has a removable cover that turns it into a giant diffuser, set up on its own stand. If I didn’t have something to diffuse the light, I would have bounced the light off of something–theatres always have prop doors or partitions laying around, so there’s a lot of ways to get creative to soften the light.
Posted in Hardware, Lighting, Photography, Portraits, Promotion, Technical, Technique, Theater, Theatre No Comments »
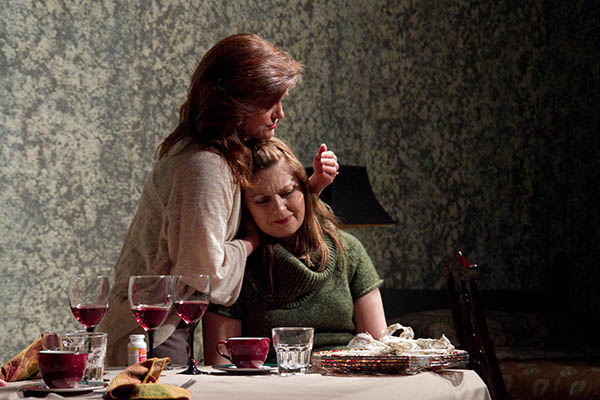

Dinner with Friends is Donald Margulies’ Pulitzer Prize-winning work about a couple that re-evaluates their relationship after the the dissolution of their closest friends’ marriage. This production was put on by the Dreamweavers Troupe in Napa, a non-profit, volunteer run theatre company dedicated to producing quality shows in the Napa Valley.
The lighting at Dreamweavers has made it one of my favorite theaters in which to shoot; powerful and plentiful. And after remedying some storage shortages mentioned in a previous post, I was free to be as trigger happy as I wanted with the shutter. Which brings me to one of the main things that I try to practice: capturing the emotional height of a moment. Photographing a theatrical production requires a great deal of anticipation–trying to be where the puck is going to be as Wayne Gretzky puts it.
Even though I do make liberal use of the 7D’s eight frames per second, I only really use it as a safety mechanism so that I can choose from the single best shot of a series–not so I can show off all 30 frames from a burst. It helps me to make sure that I capture the moment–the moment that illustrates a special connection between actors, the moment where the action is at it’s peak. And in a play where movement is constant, and an inch of movement can mean losing multiple stops of light, that moment can literally be a fraction of a second. Eight frames per second helps, but it won’t move you to where the puck is going to be.
Posted in Photography, Production, Promotion, Technique, Theater, Theatre 1 Comment »
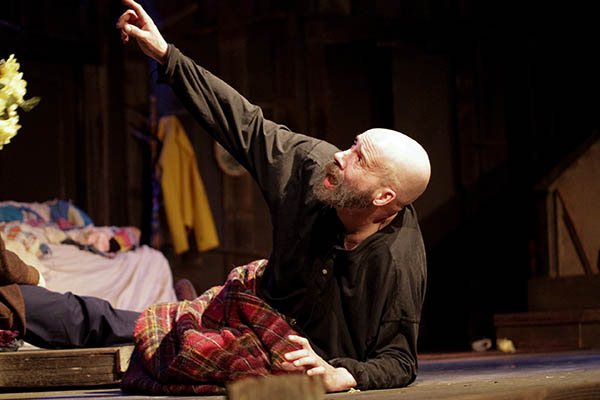


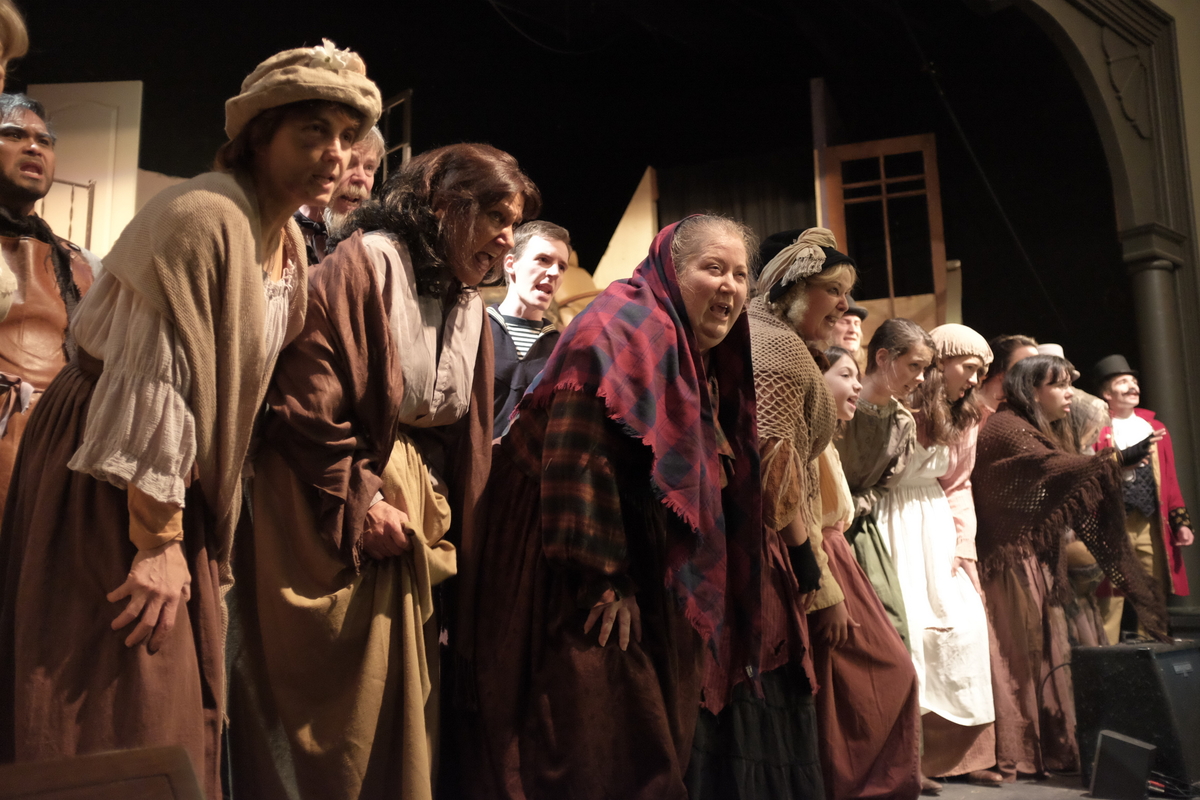
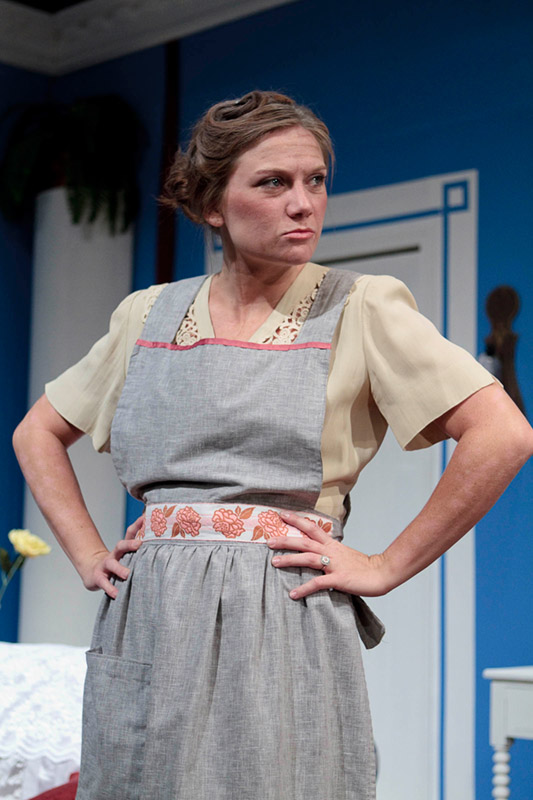
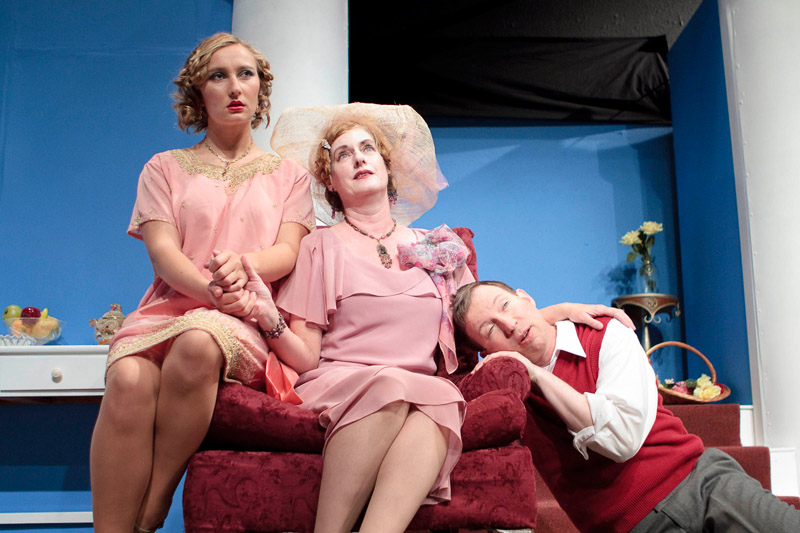
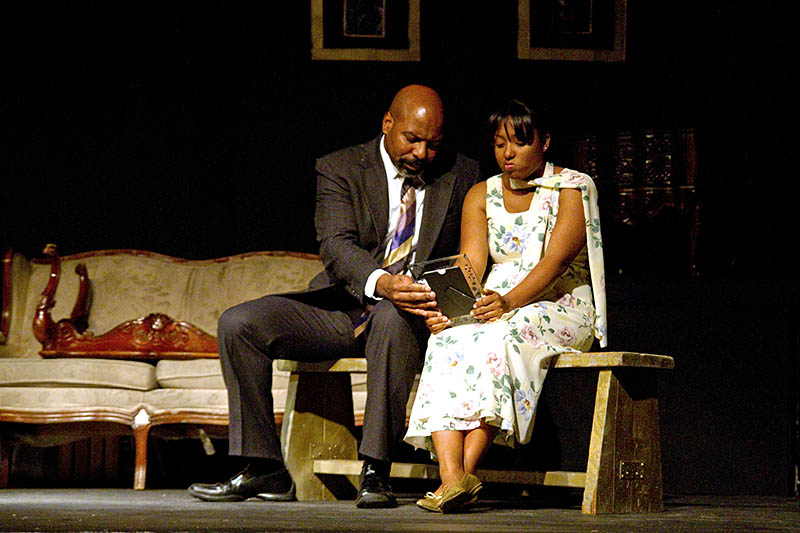
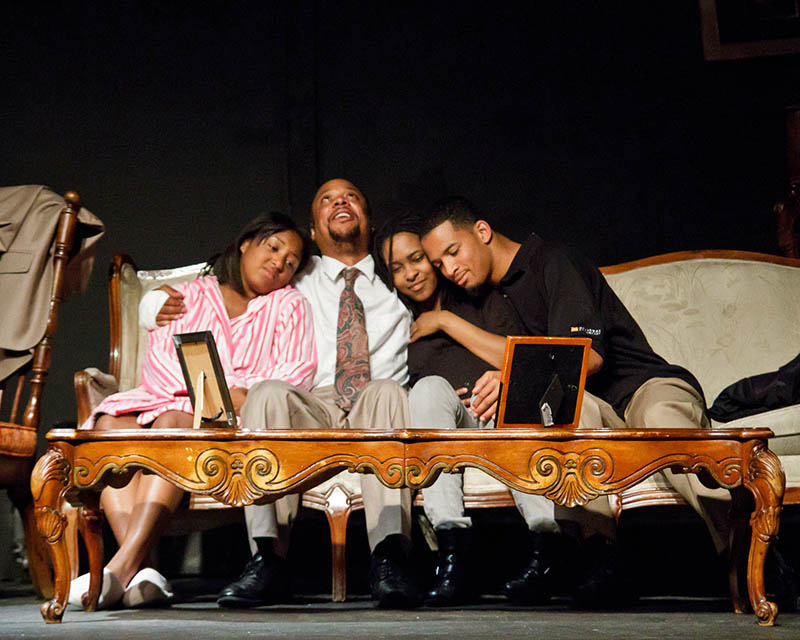
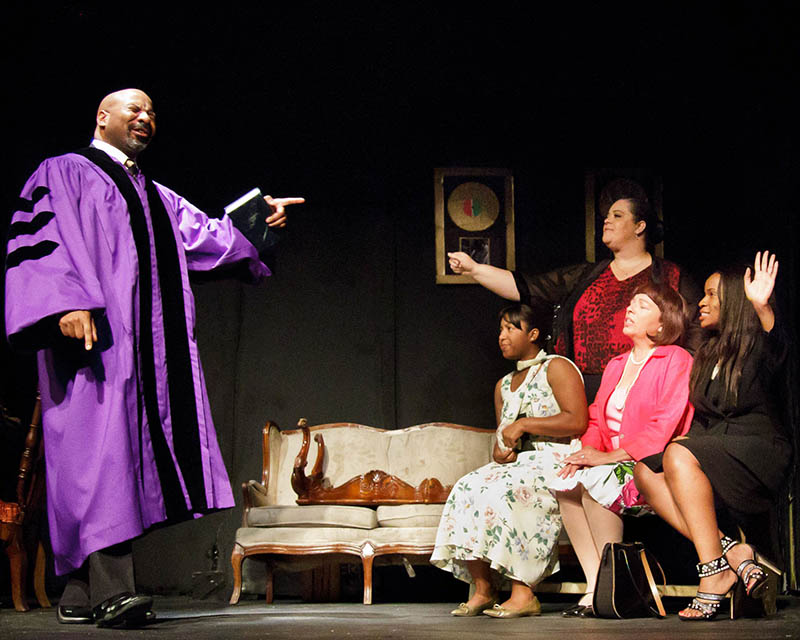
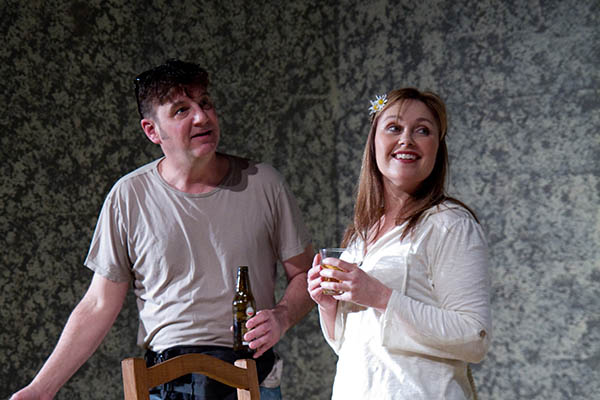
Buried Child is a Pulitzer Prize-winning drama by Sam Shepard, and the first production I shot for a young production company, Bay Area Stage. The first thing that struck me before action was called was the amazing attention paid to set design, art direction, and construction. It was easily the best set I’ve seen on a production of this size (as of yet–Bay Area Stage has a tendency to top themselves time after time).
Because of the general mood and tone of the play, it was a fairly dark show. Especially a challenge when you depend on (and hope for) as much light as possible to make sharp, clear photographs. More than a few times, I had to bring my shutter speed way below my normal level of comfort and employ Joe McNally’s “Da Grip“. I wouldn’t have had nearly as many keepers had it not been for this technique.
The other issue I had was storage. I had 20Gb with me in CF cards and I damn near ran out of space. the 7D makes huge raw files, anywhere from 23Mb to 32Mb in size, and in any given show I will snap the shutter 900-1000 times. I didn’t have a choice but to switch to JPG in the last few scenes. Luckily I did a custom white balance before the show and really concentrated on metering as accurately as possible, so all was well. But I’ll admit I was sweating shooting in JPG and not having the cushion of RAW. Still, I captured everything I wanted to, and I could see a marked improvement in exposure accuracy, composition, and my ability to click at “the moment” over the last couple of shows.
Either way, one of the bigger lessons here is that storage is cheap, and you should definitely invest in as much of it as you can.
Posted in Photography, Production, Promotion, Technique, Theater, Theatre 1 Comment »